

Tutorial: Build a web game from scratch
Build an alchemy game, where players combine elements to discover new ones, starting from an idea instead of a template. Part 1 builds a playable prototype. Part 2 scales up the content and adds polish.
Project tutorial on the Advanced path. It stands on its own, so you can start here.
You’ll learn how to: start a web project from an idea, steer Bali when a result isn’t what you pictured, and keep game content in a data file so it can grow without touching the code.
Part 1: From idea to prototype
Section titled “Part 1: From idea to prototype”Prefer to watch? Play the part 1 video (36 min)
Step 1: Start from an idea
Section titled “Step 1: Start from an idea”Describe the game you have in mind, not a template. The video uses this prompt:
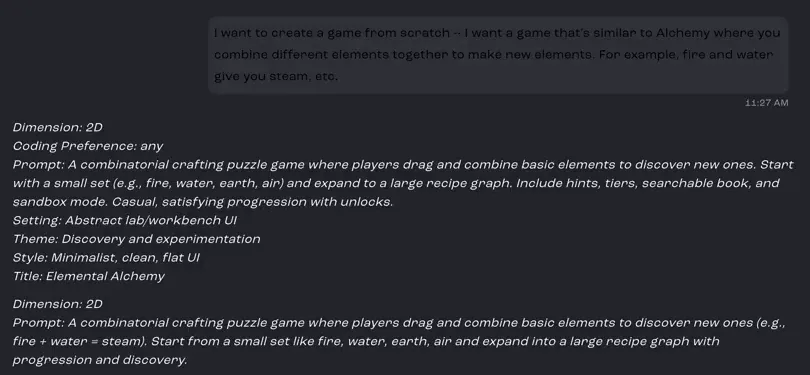
I want to create a game from scratch – I want a game that’s similar to Alchemy where you combine different elements together to make new elements. For example, fire and water give you steam, etc.
Bali turns your idea into a short design summary: 2D or 3D, how much code you want to write, a fuller description of the game, and the setting, theme, style and a working title.
Step 2: Pick a title
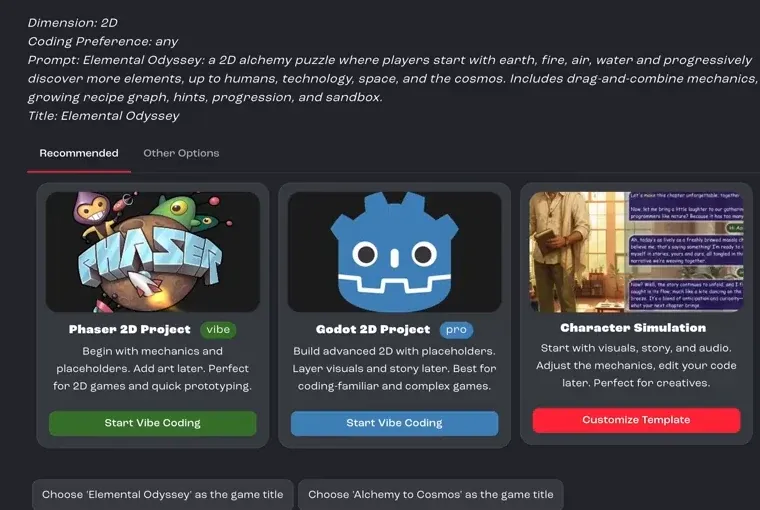
Section titled “Step 2: Pick a title”Ask Bali for options, for example “I want a 2D game. Give me a few options for titles for this game.” Bali suggests titles that match your concept. Pick the one you like. The video chooses Elemental Odyssey.
Step 3: Choose the Phaser 2D project
Section titled “Step 3: Choose the Phaser 2D project”When none of the templates match your idea, start from a blank project instead. Bali offers a Phaser 2D Project, which starts with mechanics and placeholders so you can add art later. Click Start Vibe Coding on it.
Step 4: Let Studio write the starter code
Section titled “Step 4: Let Studio write the starter code”The editor opens and Studio starts writing the first version of the game: starter code and a basic interface made of simple shapes. It’s just enough to be playable, and you’ll shape it from here.
Step 5: Understand how Bali works on a task
Section titled “Step 5: Understand how Bali works on a task”From now on, Studio coordinates the work with you. You describe the next task, Studio turns it into a plan, and it hands each part to the Bali agent best suited to it.
Step 6: Ask for a minimal prototype
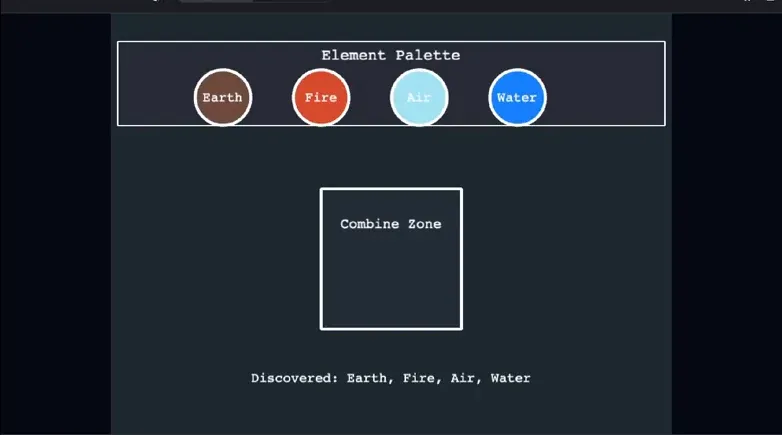
Section titled “Step 6: Ask for a minimal prototype”Ask for the smallest version you can play with, for example “Design a minimal playable prototype: a simple interface that lets me combine elements.” This gives you something to test while you work out the mechanics.
Step 7: Redirect it if it isn’t what you pictured
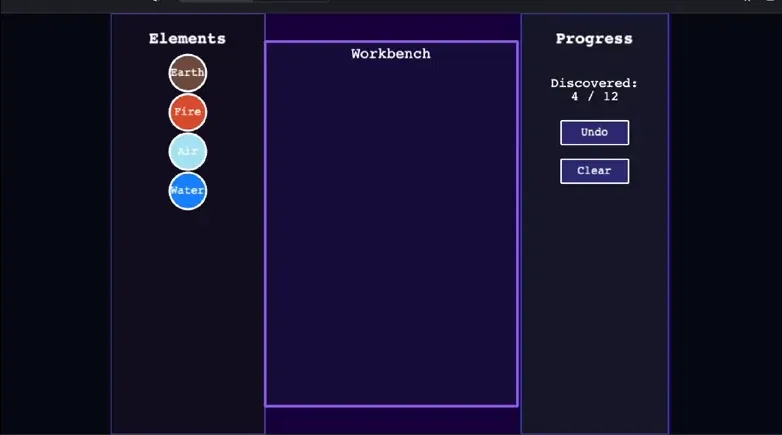
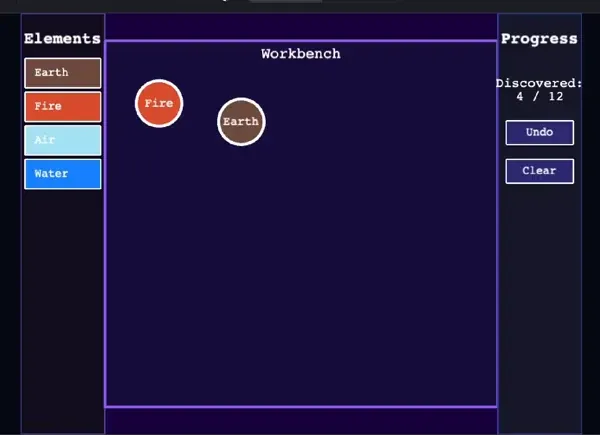
Section titled “Step 7: Redirect it if it isn’t what you pictured”The first layout works, but it isn’t what the video’s creator had in mind. Say what you want instead. Here, the request is to redesign it with three vertical panels, which better matches how players will use the elements.
Step 8: Review code changes
Section titled “Step 8: Review code changes”From time to time, Studio asks you to review and accept code changes. You can inspect and edit the code yourself in the Scripts tab.
Step 9: Keep iterating
Section titled “Step 9: Keep iterating”Make a few more requests to clean things up, such as spacing, labels and interactions. Iterate as much as you like: this back and forth is how a blank project becomes your game.
Step 10: Play it, then change what doesn’t feel right
Section titled “Step 10: Play it, then change what doesn’t feel right”Once the layout looks right, play with it. In the video, dragging elements doesn’t feel good, so the next request switches to tapping. It also asks for a scrolling list in the left panel, so players can see and select every element they’ve discovered.
Step 11: Move the game data into a JSON file
Section titled “Step 11: Move the game data into a JSON file”To keep the game easy to grow, ask Bali to separate the content from the code:
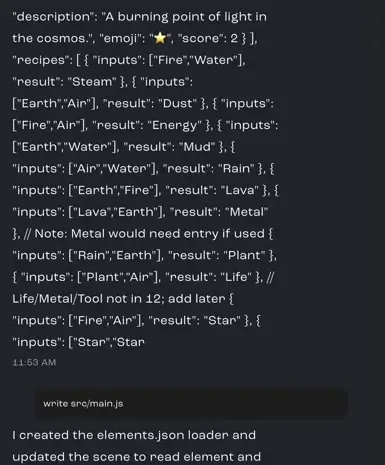
Move the element definitions, recipes and scores out of the game code into a JSON file that the game loads when it starts.Then you can add elements later by editing data instead of game logic.
Step 12: Check the new data file
Section titled “Step 12: Check the new data file”Open the Scripts tab to find the new elements.json file. The ingredients and recipes now live apart from the main code, which makes the project feel like a reusable alchemy template.
Part 2: Balance, lore and progression
Section titled “Part 2: Balance, lore and progression”Prefer to watch? Play the part 2 video (15 min)
Step 1: Review the element list
Section titled “Step 1: Review the element list”The elements now appear in a list on the left, each with its score next to it. With the core loop visible at a glance, it’s much easier to think about balance and progression.
Step 2: Fix readability
Section titled “Step 2: Fix readability”Look for anything hard to read. In the video, Air is white text on a light blue background, so it almost disappears, and the emojis drift outside the list. Ask Bali to fix both:
Improve the contrast so every element name is readable, and align the emojis neatly inside the list.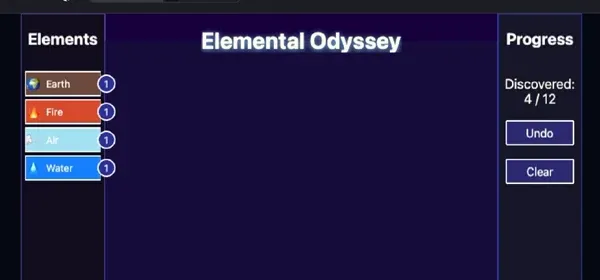
Step 3: Grow the content
Section titled “Step 3: Grow the content”With a working prototype, it’s time to scale up. Because the content lives in a data file, you can grow it without touching the game code:
Expand elements.json from the initial 15 elements to at least 50.Step 4: Review the expanded list
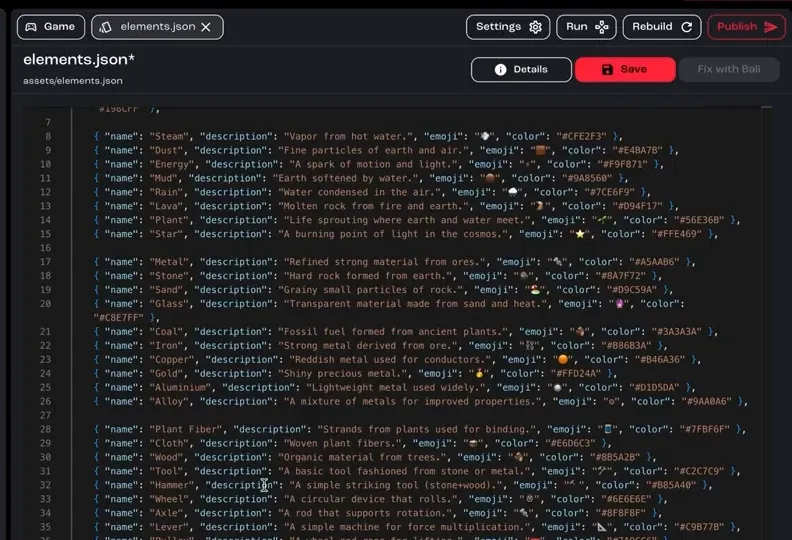
Section titled “Step 4: Review the expanded list”Open elements.json to see the new elements Bali added, each with a description, an emoji and a color. The small prototype is now a much richer game, just from extending the data.
Step 5: Add flavor
Section titled “Step 5: Add flavor”Give discoveries some drama. The video adds a godlike narrator who announces every new element with a short line of lore, in the style of a divine announcement. Bali adds a narration line for each element to the JSON file.
Step 6: Make scoring fair
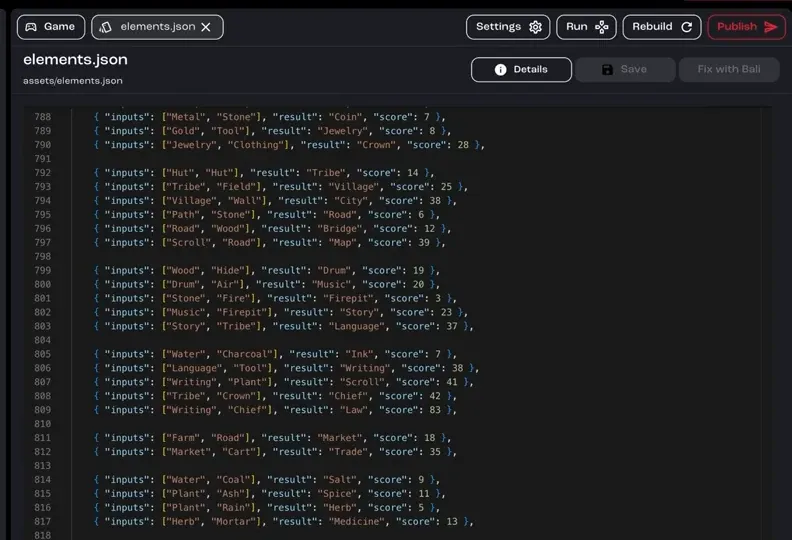
Section titled “Step 6: Make scoring fair”Some elements can be made with more than one recipe. Ask Bali to refine the scoring so the game rewards discoveries consistently, however the player makes them.
Step 7: Test, then publish
Section titled “Step 7: Test, then publish”Test the logic one more time. You now have a fully playable alchemy game built without a template. When you’re happy, publish it.