

Tutorial: Generate characters and art
Create a new player character with AI, make it the hero of your game, and update the poster to match.
Cave arcade game, part 5 of 6. Each part builds on the one before. See all tutorials.
You’ll learn how to: review the art you already have, describe and refine a new character, swap it into the game, and keep your poster consistent.
Prefer to watch? Play the full video (9 min)
Step 1: Review the art you already have
Section titled “Step 1: Review the art you already have”Open the Assets tab to browse the game’s art visually. Or ask Bali to do it for you:
Scan the project and summarize the key art, characters and obstacles.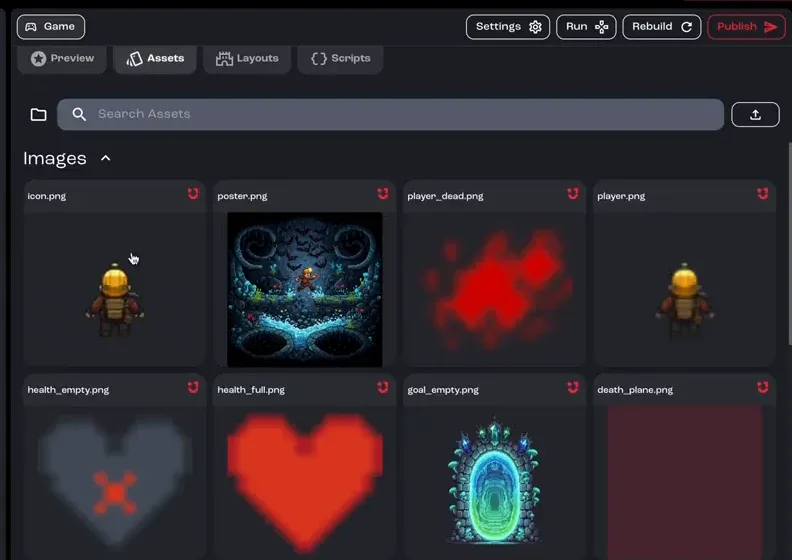
Step 2: Describe the new character
Section titled “Step 2: Describe the new character”Tell Bali who the new hero is: their personality, look and outfit. The video asks for a tough, adventurous spelunker who is clearly ready to explore. For example:
Generate a new player character: a tough, adventurous explorer in rugged gear, clearly ready to explore the caves.Mention the view your game uses. This game shows the player from above, so the new sprite needs to be drawn from the back.
Step 3: Review and refine the image prompt
Section titled “Step 3: Review and refine the image prompt”The asset generator opens in the chat and shows how Bali turned your request into an image prompt. If you like it, click Generate. If not, edit the prompt or regenerate as many times as you need until the character feels right.
Step 4: Make it the player character
Section titled “Step 4: Make it the player character”When you’re happy with the new image, ask Bali to swap it into the game as the active player character. Bali wires it in and adjusts the size, aspect ratio and alignment so it fits the existing scenes.
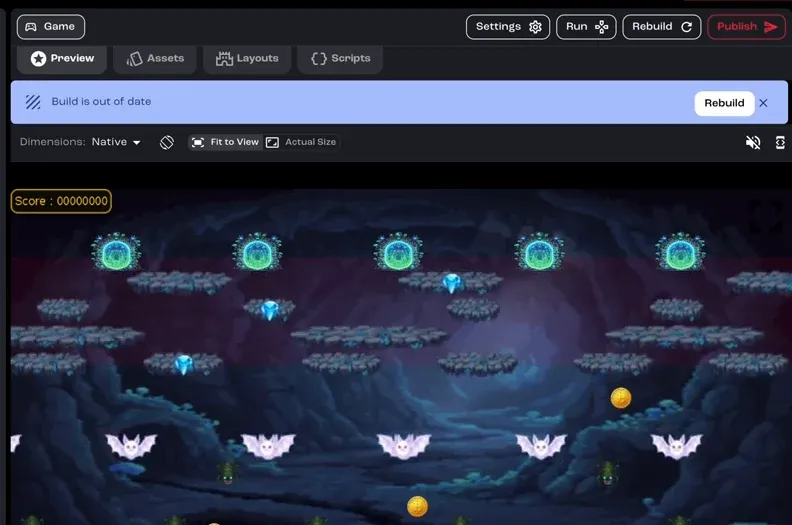
When Studio shows Build is out of date above the preview, click Rebuild to see the change.
Step 5: Update the poster
Section titled “Step 5: Update the poster”Keep your key art consistent with the new look. One prompt is enough:
Regenerate the poster so it shows the new hero.Step 6: Test, then publish
Section titled “Step 6: Test, then publish”Play the game once more in the Preview tab, then publish it to share your updated adventure.