

Tutorial: Build a 3D game from scratch
Build a 3D game where the player jumps between platforms to escape lava that keeps rising. Part 1 builds the core loop. Part 2 adds the scenery and finishes the game.
Project tutorial on the Advanced path. It stands on its own, so you can start here.
You’ll learn how to: start a 3D game from a template, fix controls and errors with Bali, add mechanics step by step, and make sure generated assets end up in the game.
Part 1: Build the core loop
Section titled “Part 1: Build the core loop”Prefer to watch? Play the part 1 video (40 min)
Step 1: Describe a 3D concept
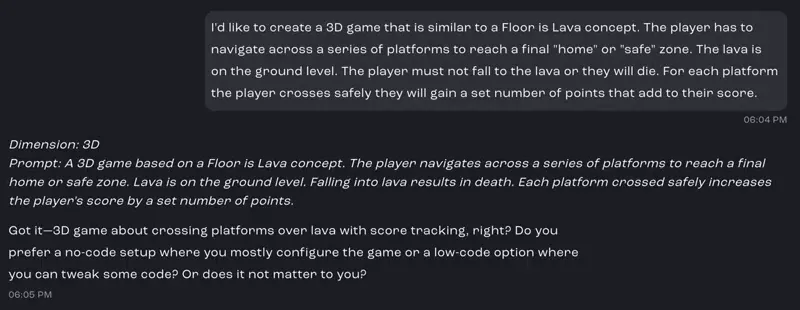
Section titled “Step 1: Describe a 3D concept”Describe the game, the goal and how the player scores. The video uses this prompt:
I’d like to create a 3D game that is similar to a Floor is Lava concept. The player has to navigate across a series of platforms to reach a final “home” or “safe” zone. The lava is on the ground level. The player must not fall to the lava or they will die. For each platform the player crosses safely they will gain a set number of points that add to their score.
Bali confirms it’s a 3D game and summarizes the concept.
Step 2: Pick a 3D template
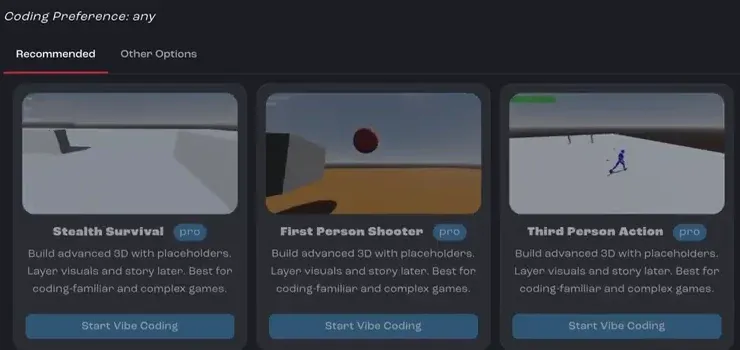
Section titled “Step 2: Pick a 3D template”Studio recognizes that you want a 3D game and shortlists 3D templates to start from. The video picks Third Person Action, because it only needs a basic third-person camera that follows the player from platform to platform.
Step 3: Let Studio adapt the template
Section titled “Step 3: Let Studio adapt the template”Studio changes the template to match the details in your prompt. This takes a few minutes.
Step 4: Play the first version
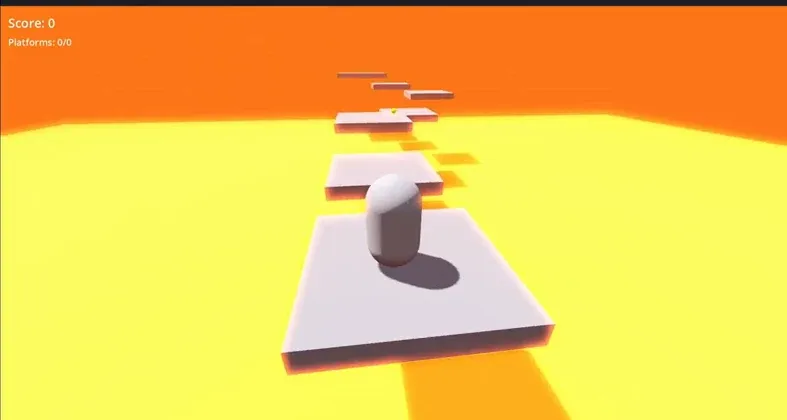
Section titled “Step 4: Play the first version”The first result is already a basic version of the game: a lava floor that rises, platforms, and a character that can jump.
Step 5: Generate textures and audio
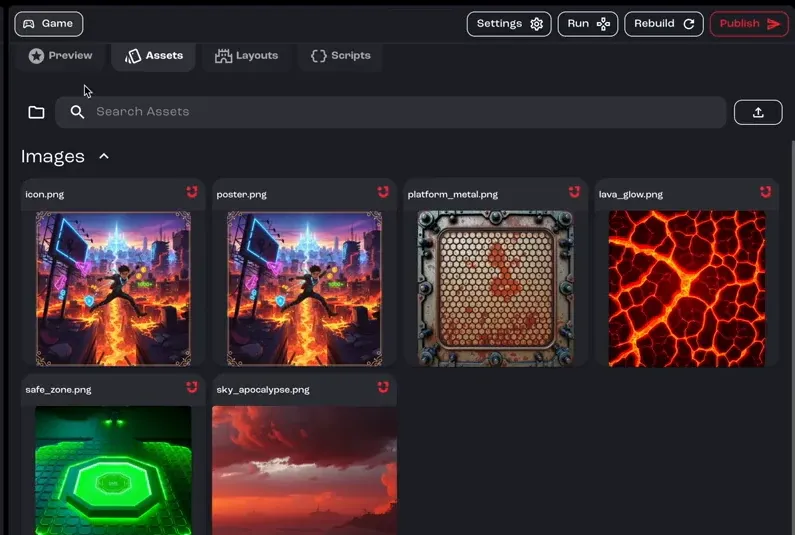
Section titled “Step 5: Generate textures and audio”Bali offers to generate the art and sound the game needs: textures for the lava, the platforms and the safe zone (the home platform the player is trying to reach), plus music, sound effects for death and other moments, and the ambient sound of the rising lava. Review each request and generate them.
Step 6: Fix the controls
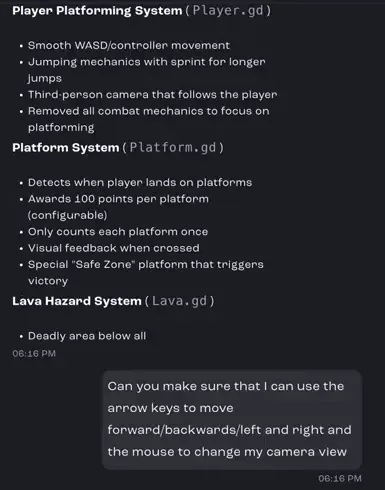
Section titled “Step 6: Fix the controls”When you test the game, the character’s movement doesn’t work properly. Ask Bali to fix it, and say exactly which controls you want:
Can you make sure that I can use the arrow keys to move forward/backwards/left and right and the mouse to change my camera view
Step 7: Ask Bali to debug errors
Section titled “Step 7: Ask Bali to debug errors”Sometimes the code Bali writes has errors. When they show up, ask Bali to debug the issue and check the preview logs. It reads the errors and fixes the code.
Step 8: Make the lava rise with each platform
Section titled “Step 8: Make the lava rise with each platform”With the controls working, add the next mechanic: the lava rises each time the player reaches a new platform. Going back is no longer an option, which adds urgency.
Step 9: Add moving platforms
Section titled “Step 9: Add moving platforms”Make some platforms move slowly, so they’re harder to reach. After a bit of debugging with Bali, both new features work.
Step 10: Make the rising lava obvious
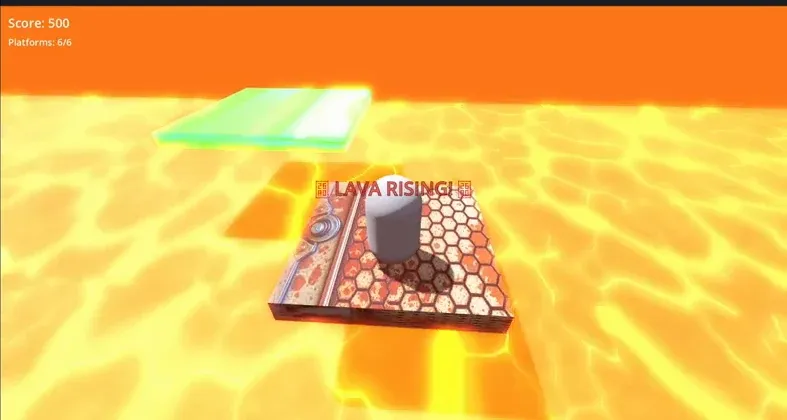
Section titled “Step 10: Make the rising lava obvious”Players should notice when the lava rises. Ask Bali to make it more visible with an animation and an on-screen notice.
Step 11: Check the assets are in the game
Section titled “Step 11: Check the assets are in the game”Generated files aren’t always wired into the game straight away. Ask Bali to make sure all the assets you generated earlier are actually used. You can see them in the Assets tab.
Step 12: Adjust the look
Section titled “Step 12: Adjust the look”Once the assets show up, ask Bali to tweak them to fit your idea, such as their transparency or brightness.
Step 13: Add power-ups
Section titled “Step 13: Add power-ups”Finally, add a new collectible: power-ups that lower the lava slightly or make the player’s jumps higher, and add to the score.
Part 2: Scenery and finishing touches
Section titled “Part 2: Scenery and finishing touches”Prefer to watch? Play the part 2 video (19 min)
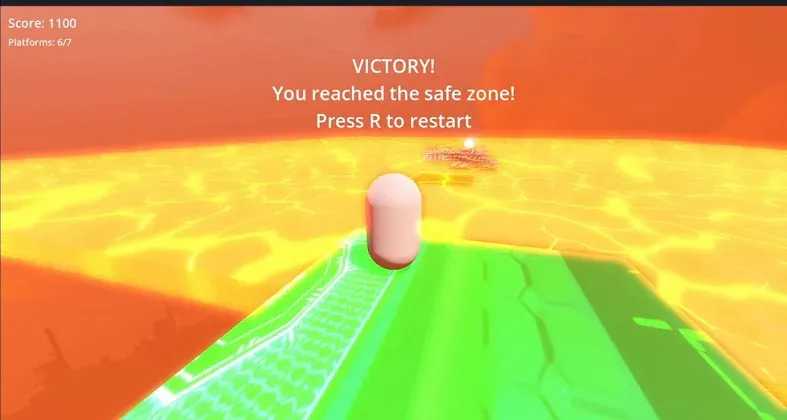
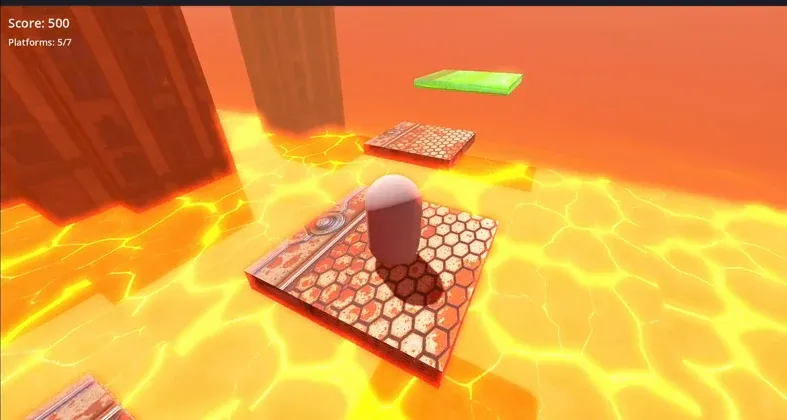
Part 2 starts with a working game: cross the platforms and reach the green safe zone to win.
Step 1: Add buildings around the track
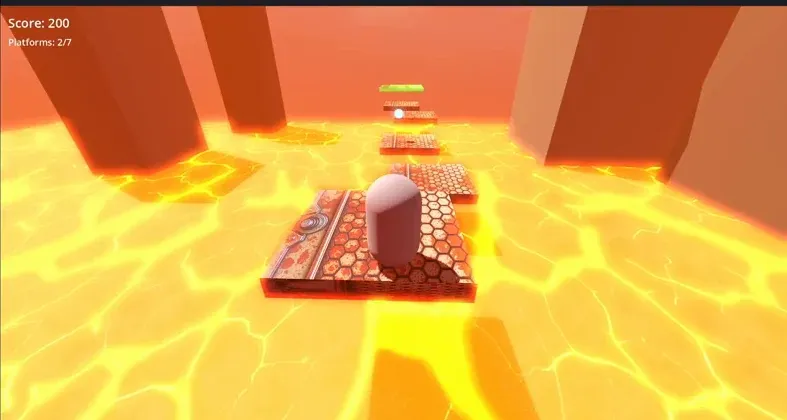
Section titled “Step 1: Add buildings around the track”Ask Bali to add buildings around the track. They give the player something to measure the rising lava against, so it’s easier to notice.
Step 2: Texture the buildings
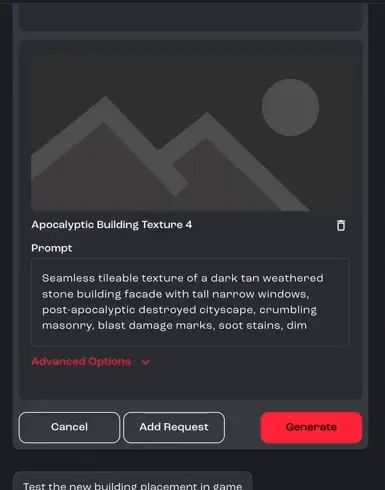
Section titled “Step 2: Texture the buildings”Ask Bali to generate textures for the buildings, with windows, silhouettes and other details that fit the post-apocalyptic theme. Review each prompt in the asset generator, then click Generate.
Step 3: Review the finished loop
Section titled “Step 3: Review the finished loop”Play the game. The lava rises a little each time the player moves to a new platform, and the rise is easy to see against the buildings.
Step 4: Replace the skybox
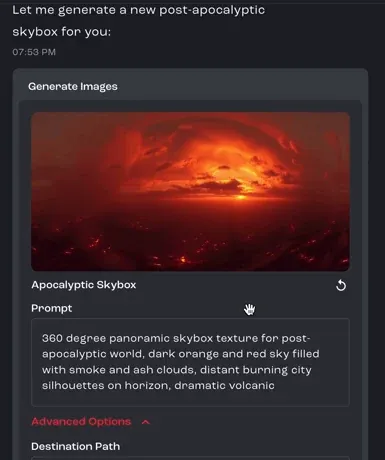
Section titled “Step 4: Replace the skybox”Finally, ask for a nicer, more seamless sky. In the video, Bali generates a 360-degree post-apocalyptic sky with smoke, ash clouds and a burning city on the horizon.
You now have a complete 3D game with generated images, music and sound effects, a collectible mechanic, custom controls and a rising-lava loop. When you’re happy with it, publish it.