

Tutorial: Customize and polish a game
Open an existing lane-based arcade game and improve it by asking Bali in plain words. Part 1 changes the visuals and adds a new enemy. Part 2 tunes the movement and difficulty.
Cave arcade game, part 2 of 6. Each part builds on the one before. See all tutorials.
You’ll learn how to: change visuals by asking, find out how your game is put together, generate and add a new enemy, and fix vague problems without digging through files.
Part 1: Change visuals and add an enemy
Section titled “Part 1: Change visuals and add an enemy”Prefer to watch? Play the part 1 video (7 min)
Step 1: Make the title easier to read
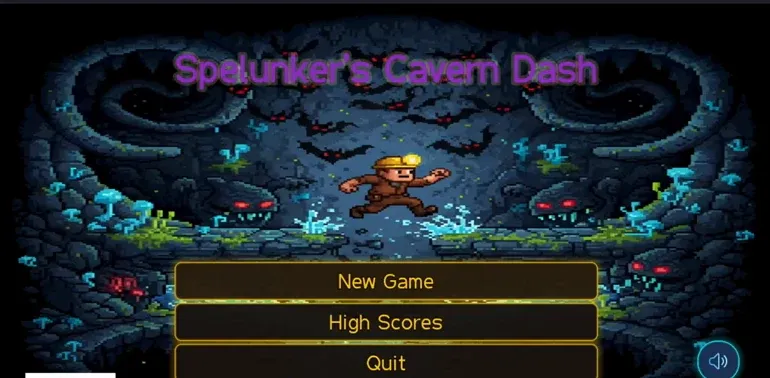
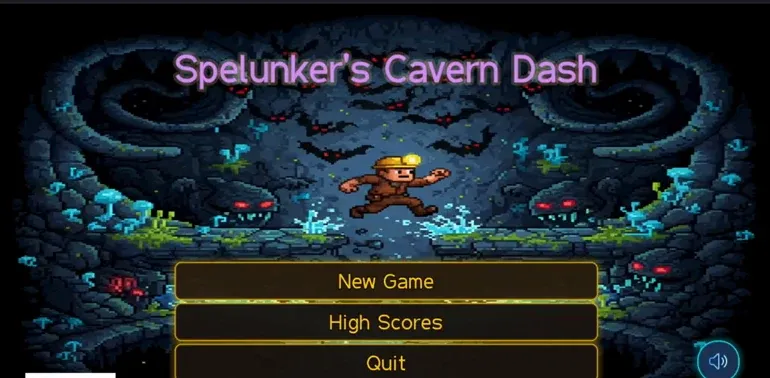
Section titled “Step 1: Make the title easier to read”The title on the start screen is dim and hard to read. Instead of hunting through settings, ask Bali:
Make the title a brighter, lighter purple so it really pops.Bali applies the change and rebuilds the game, so you see the new title in the preview right away.
Step 2: Add something the template doesn’t have
Section titled “Step 2: Add something the template doesn’t have”You aren’t limited to what the template includes. For example:
Make the title text pulse in a spooky, eye-catching way.Bali writes the animation and you can watch it running in the Preview tab.
Step 3: Make the player bigger
Section titled “Step 3: Make the player bigger”Ask for a change in everyday terms, such as “Make the player about 50% bigger.” Bali finds where the player is defined and which scenes use it, then scales it. In the video, it also enlarged the player’s collision box to match the new size.
Step 4: Find out how the obstacles work
Section titled “Step 4: Find out how the obstacles work”Before changing something, ask Bali to explain it. For example: “Break down the obstacles in this game and how they’re used.” Bali describes each obstacle and where it appears.
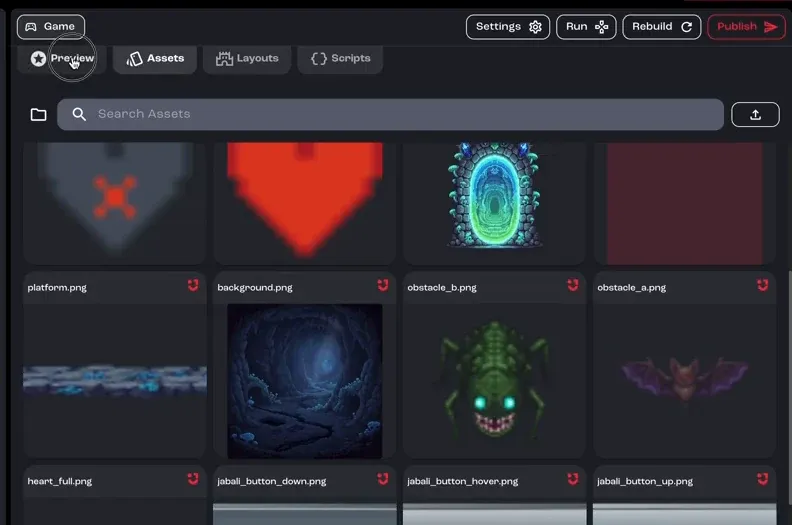
You can also browse every image in the project in the Assets tab.
Step 5: Regenerate an obstacle
Section titled “Step 5: Regenerate an obstacle”Ask Bali to redraw an existing asset and say what should change:
Regenerate the bat obstacle so it stands out more: a stronger silhouette and a clearer shape, while still matching the game's style.Step 6: Find where an asset is used
Section titled “Step 6: Find where an asset is used”Ask “Which rows use the bat obstacle?” Bali searches the whole project, matches the asset to the rows that spawn it, and tells you where it appears. You don’t need to read any code.
Step 7: Ask Bali to suggest a new enemy
Section titled “Step 7: Ask Bali to suggest a new enemy”To replace the obstacle on row one with something new, ask Bali for ideas. Bali uses what it knows about your project to suggest creatures that fit the theme and difficulty.
Step 8: Generate the new enemy
Section titled “Step 8: Generate the new enemy”When you pick an idea, the asset generator opens in the chat with a prompt Bali wrote. Edit the prompt to add your own details. The video adds glowing yellow eyes.
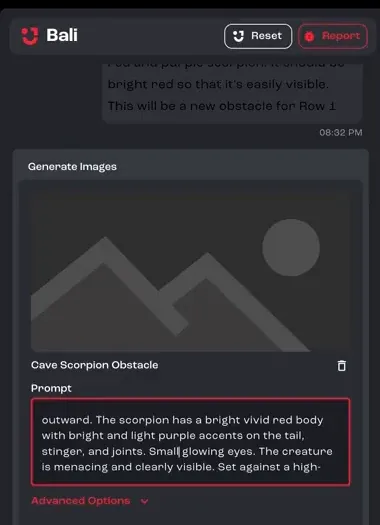
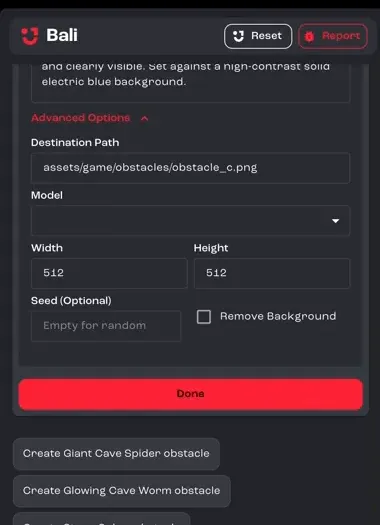
Open Advanced Options to see where the file will be saved and change its size. For a sprite, turn on Remove Background so it blends into the game. Then click Generate.
Step 9: Accept it and let Bali wire it in
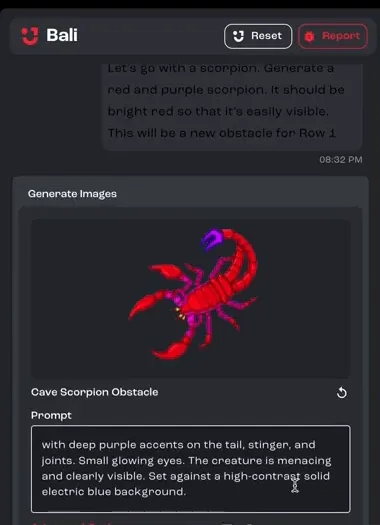
Section titled “Step 9: Accept it and let Bali wire it in”Bali came back with a red scorpion with two tails. If you don’t like the result, regenerate it. When you’re happy, click Done. Bali adds the new asset to the game where you asked for it.
Step 10: Give the new enemy its own movement
Section titled “Step 10: Give the new enemy its own movement”Describe how it should move, for example “Give the scorpion a jittery movement pattern.” The template has no movement like that, so Bali writes the script it needs.
Step 11: Tune the movement
Section titled “Step 11: Tune the movement”Getting movement to feel right usually takes a few rounds. Play the game, then tell Bali what to adjust, such as the speed, the timing or how strong the jitter is.
Part 2: Refine, balance and polish
Section titled “Part 2: Refine, balance and polish”Prefer to watch? Play the part 2 video (9 min)
Step 1: Play the game
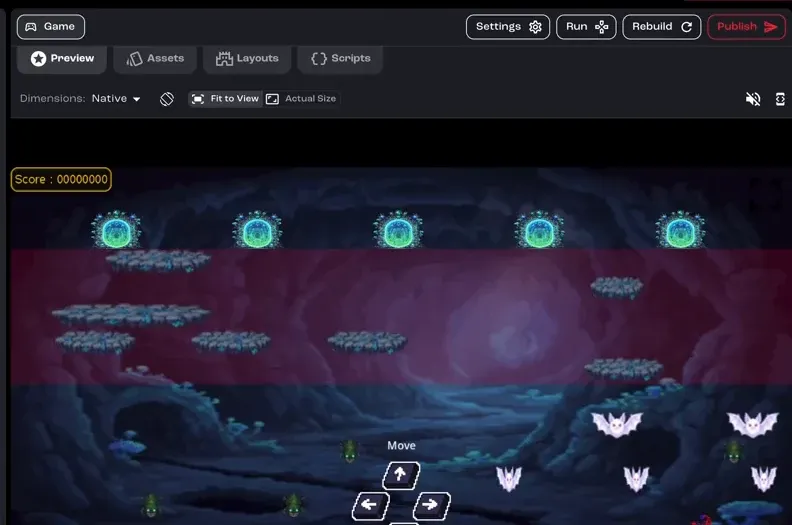
Section titled “Step 1: Play the game”Play the game in the Preview tab to feel how your changes fit together.
Step 2: Fine-tune the new enemy
Section titled “Step 2: Fine-tune the new enemy”Which tweaks you make is up to you. In the video, a few rounds with Bali adjust the scorpion’s movement and starting position until it behaves as intended.
Step 3: Lower the difficulty
Section titled “Step 3: Lower the difficulty”If the game feels too hard, say what to change. The video asks Bali to remove the obstacle from row three, giving the player a breather, and to slow the scorpion down slightly.
Step 4: Make a loose request
Section titled “Step 4: Make a loose request”You don’t need to know file names. The video asks:
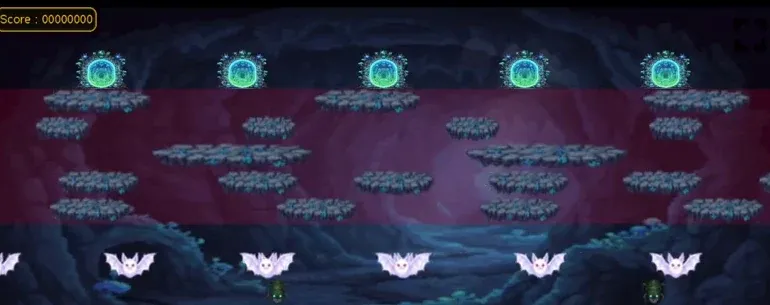
Make the red tint behind the platforms more transparent.Bali searches the code and assets for the layer behind the platforms, works out that you mean the danger-zone image, and lowers its opacity.
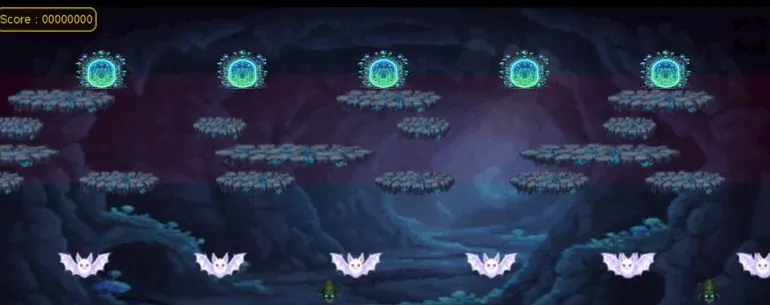
The more you prompt, the better you get at asking for exactly what you need, even when a request starts out vague.
Step 5: Playtest, then publish
Section titled “Step 5: Playtest, then publish”Play the game once more. When you’re happy with it, you’re ready to publish.